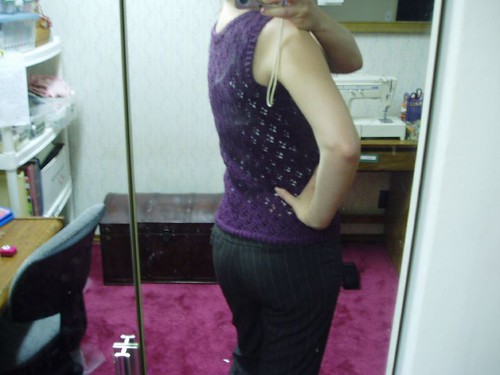
ProtoPretty DNA Top... THE PATTERN! 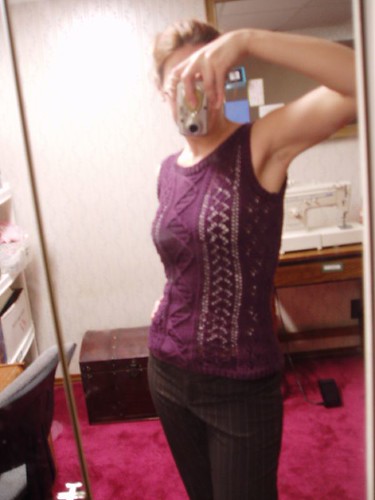
Sizing: Bust 33(36, 40, 44)"
Sizing note: Negative ease is built into this pattern because the front lace panels are stretchy. Choose the size closest to your actual measurement.
Gauge: 19 stitches and 26 rows to 4" (measure a mainly stockinette portion of diamond lace pattern)
Stitches used:
1x1 rib (row 1: K1, P1, row 2: knit the knits, purl the purls)
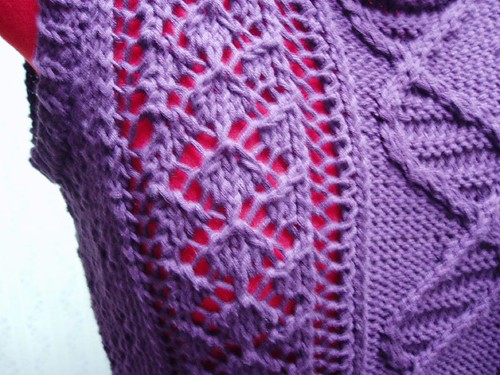
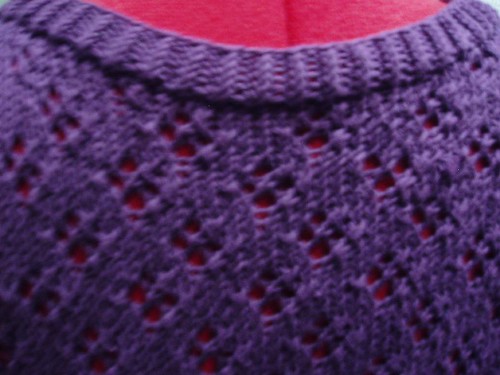
Diamond background lace (see chart A)
Modified Torchon lace (see chart B)
DNA cable (see chart C)
FrontCO 76(82, 90, 100) stitches. Work in 1x1 rib for one inch. On final WS row, place markers after 11th(14th, 18th, 23rd) stitch, 29th(31st, 35th, 40th) stitch, 49th(51st, 55th, 60th) stitch, and 65th(68th, 72nd, 77th) stitch. You should have a section of 11(14, 18, 23) stitches, a section of 17 stitches, a center section of 20 stitches, 17 stitches, then 11(14, 18, 23) stitches.
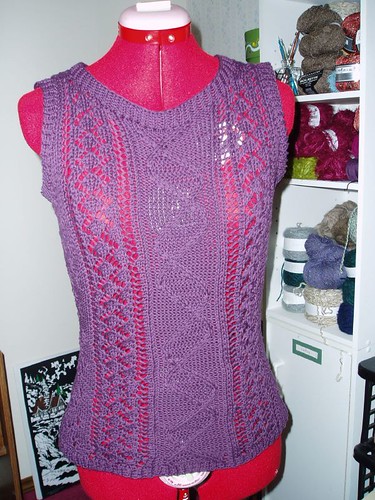
Begin working charts. Work Chart A in the first section of stitches, Chart B in the next section, the DNA cable in the center section, Chart B, then Chart A.
NOTE: begin with ROW 3 of the DNA cable (the chart, as written, begins with a 2-row border. Skip this border and begin on row 3 of the chart). At the same time, when work measures 3 inches, begin waist shaping: Decrease 1 stitch at beginning and end of every other RS row 5(4, 5, 6) times. Maintain pattern and be aware of stitch count. Always be sure you have room to decrease after a YO, otherwise omit the YO and knit to the end of the row. When you have 66(74, 80, 88) stitches, work even until piece measures 9 inches total length.
Begin increases: Increase 1 stitch at beginning and end of every other RS row 7(5, 7, 8) times, staying in pattern. When you have 80(84, 94, 104) stitches, work even until piece measures 16(16, 16.5, 17) inches total length.
Bind off for arm holes: Bind off 3 stitches at beginning of next 2 rows, 2 stitches at beginning of next 4(3, 4, 4) rows, and 1 stitches next 10(8, 8, 10) rows. You should have 56(64, 72, 80) stitches.
Work even until piece measures 19.5(19.5, 20, 21) inches. Begin neck shaping: Work 23(27, 31, 35) stitches and put these stitches on a holder. Bind off center 10 stitches, then work to end. Decrease at neck edge every other row: 4 stitches twice, 3 stitches twice. Work remaining stitches until total length is 23(23, 23.5, 24) inches. Bind off. Repeat neck shaping on other side.
BackCO 78(84, 92, 102) stitches. Work 1 inch ribbing. K1 edge stitch, then work Diamond lace pattern (chart A) repeating to last stitch, K1 edge stitch. Work shaping the same as front piece, leaving one edge stitch on each side. (NOTE: this edge stitch is important because following the lace pattern will require certain rows to "begin" with a yarn over.)
FinishingSeam front and back pieces together. Pick up stitches around arm holes and neck, working 1x1 rib for about one inch each. Block to size.
Diamond background lace (Chart A)Get chart here (it's a PDF. sorry)
Diamond background lace chartWork odd rows in pattern and purl even rows. Modified Torchon Lace Insertion (Chart B) Get chart here:
Torchon Insertion chartWORK EVERY EVEN ROW AS A PURL ROW. DNA Cable (Chart C) Get chart here:
DNA cableOmit border and BEGIN WITH ROW 3
